You don’t need to install the whole package of any Hosting Control Panel especially if your server has minimum RAM quota. Just follow this thorough guide on setting up Apache, PHP, MariaDB MySQL and PhpMyAdmin on Ubuntu 15.10 server. This tutorial will guide you, with screenshot pics, to all the steps needed to build a working web server to host dynamic websites like WordPress, Joomla, etc. This full stack Apache package is most commonly known as LAMP Stack (Linux, Apache, MySQL and PHP). This article is for newbie who want to learn using Virtual Private Server for their very first time. Read on..
Prerequisites
- A SSH client like Bitvise or Putty and basic knowledge about how to use it.
- Basic knowledge about common Unix command to SSH to your server.
- A server or VPS with at least 256MB of RAM (OpenVZ) but 512MB is recommended if you are using KVM or Xen.
- About 30 minutes of your time
- a cup of coffee or tea.
Confused on choosing which VPS provider to install VestaCP? Read my recommended VPS providers or top low end cloud server providers. Quick recommendation: Digital Ocean, Atlantic.net or Ramnode.
In this guide I am using a 512MB RAM Cloud VPS from Digital Ocean running Ubuntu 15.10 x64.
Install Apache 2
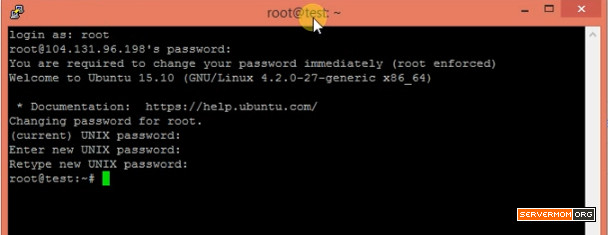
Step 1 – Login to your server as root or as a user with root privilege (sudo) :
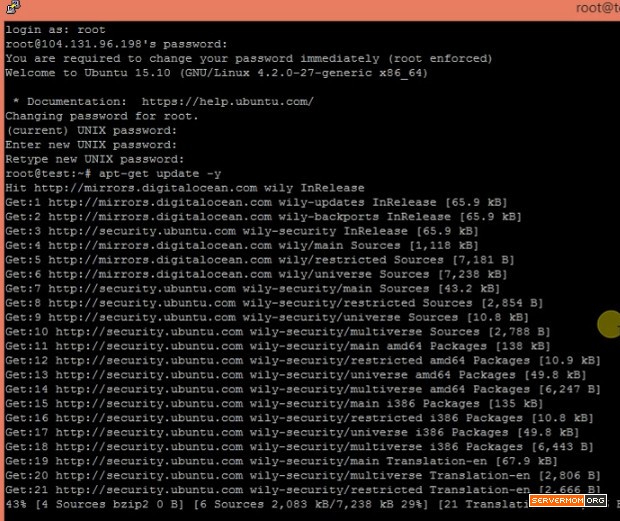
Step 2 – It is strongly recommended to firstly upgrade several things :
apt-get update -y
apt-get upgrade -y
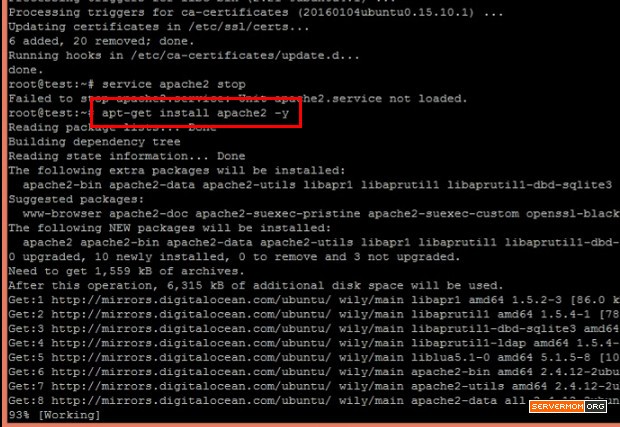
Step 3 – Next, check whether Apache is installed or not. Some providers include Apache preinstalled within their templates while others do not.
service apache2 stop
You don’t need to install it again if you already have it. Otherwise, install Apache with this simple command :
apt-get install apache2 -y
Install PHP
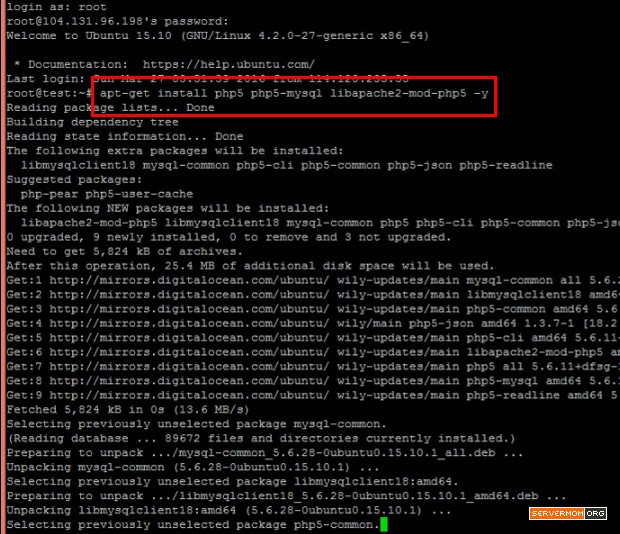
Step 1 – Now you have Apache webserver installed. By the time, you can then proceed to install PHP with this command :
apt-get install php5 php5-mysql libapache2-mod-php5 -y
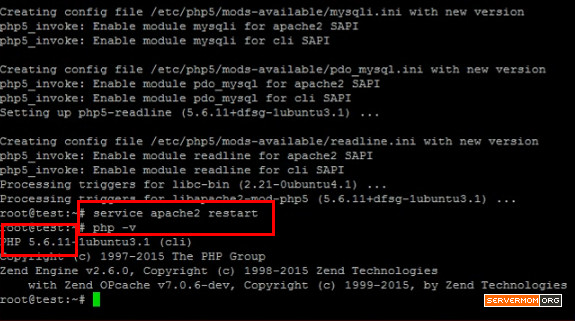
Step 2 – Next, it is better to also restart Apache and verify which PHP version has been installed :
service apache2 restart
php -v
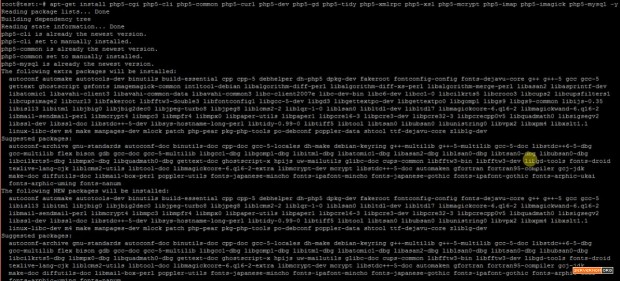
Step 3 – PHP is now installed but in most cases users usually need additional PHP modules so any CMS can simply works. Command below will install most common PHP modules / addons :
apt-get install php5-cgi php5-cli php5-common php5-curl php5-dev php5-gd php5-tidy php5-xmlrpc php5-xsl php5-mcrypt php5-imap php5-imagick -y
Install MySQL
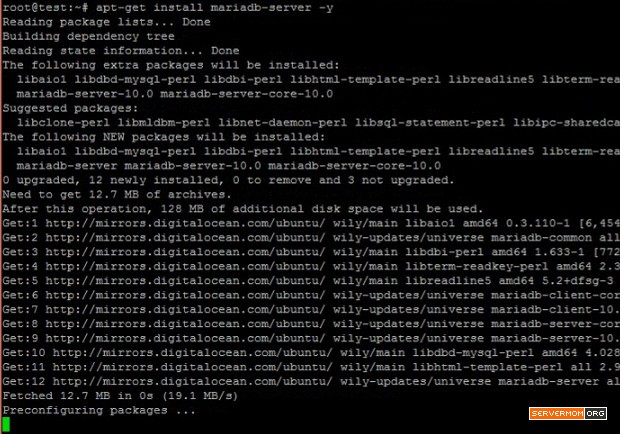
We will use MariaDB as a drop-in replacement of original MySQL. MariaDB is said to be faster and lighter to handle databases. Here’s how you can install it :
Step 1 – We can simply use apt-get command as usual :
apt-get install mariadb-server -y
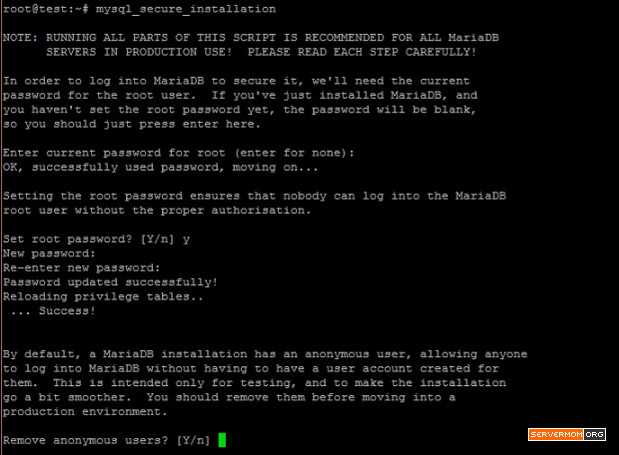
Step 2 – Once installed, lets do initial mysql server setup :
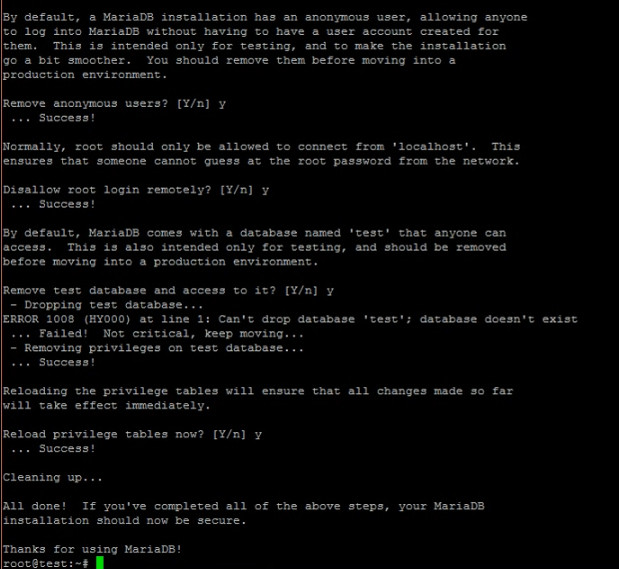
mysql_secure_installation
You’ll then see several questions to answer. The most important part of the question is defining password for mysql root user. Mysql root user is not the same your server root user.
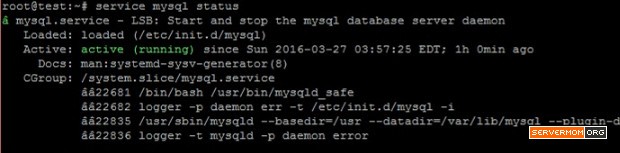
Step 3 – Verify that MariaDB mysql is running :
service mysql status
Install PhpMyAdmin
PHPMyAdmin is a popular web based mysql management interface allowing users to manage, create, delete, and edit databases as well as database users. It is also compatible with MariaDB.
Step 1 – Luckily, phpmyadmin has already been included in default Ubuntu repository so installation will be easy.
apt-get install phpmyadmin -y

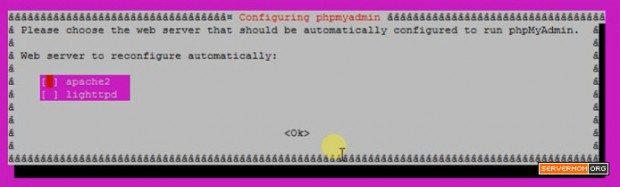
Step 2 – A question will pop up. Simply choose Apache 2 then OK
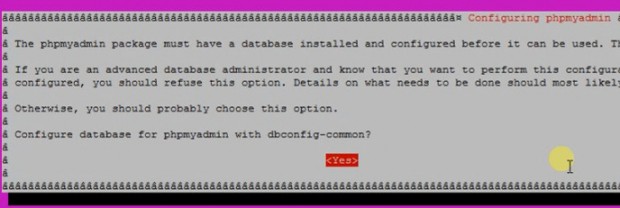
Step 3 – Another one will pop up asking you whether to use dbconfig-common or not. Simply answer Yes.
Step 4 – You’ll also need to define default password to login to phpmyadmin :

It will ask the password twice for confirmation.
Step 5 – Also provide the password for the administrative account :

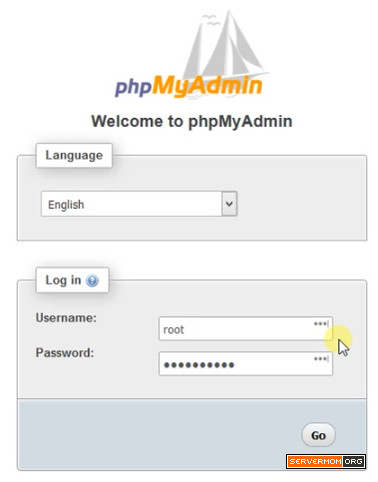
Step 6 – That’s it. Now launch up your favorite web browser then try to open it through your server ip (replace x.x.x.x) :
http://x.x.x.x/phpmyadmin
Sometimes you might be lucky but sometimes you don’t.

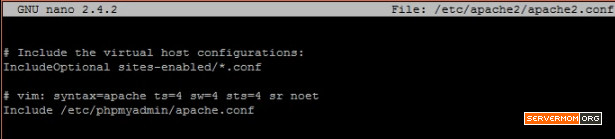
However if you see Not Found error like above, simply proceed this additional step : Edit Apache’s default configuration
nano /etc/apache2/apache2.conf
Scroll down the page till its very end and add this line there :
Include /etc/phpmyadmin/apache.conf
Save and exit the editor (Control+O then Control+X).
Step 7 – Restart Apache and try reloading the page again in web browser :
systemctl restart apache 2
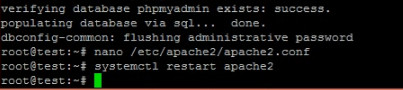
You should now see something similar to this one :

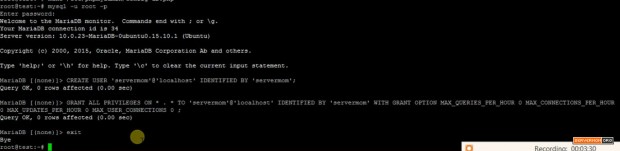
Step 8 – You can now login for the very first time using root-privileged of Mysql users to the database. But however if somehow you can not login to phpmymysql admin, then do this :
Login to mysql as root :
mysql -u root -p
then issue command below
CREATE USER 'servermomtest'@'localhost' IDENTIFIED BY 'servermompass';
GRANT ALL PRIVILEGES ON * . * TO 'servermomtest'@'localhost' IDENTIFIED BY 'servermompass' WITH GRANT OPTION MAX_QUERIES_PER_HOUR 0 MAX_CONNECTIONS_PER_HOUR 0 MAX_UPDATES_PER_HOUR 0 MAX_USER_CONNECTIONS 0 ;
replace servermomtest with another new mysql username and replace servermompass with a password you like.
After that, you can simply use the new username and password you have just defined. The new database user has some kind like root privilege so you can create other users and databases once logged in to phpmyadmin.
Add New Website to Apache
Before you can host your blogs / websites on your server, you should firstly create virtual hosts file that serves like identification of what website is hosted – domain, web directory, alias, port listening, etc. It means if someone is querying your server – through DNS of course – looking for website A, for instance, then Apache knows where is the location of the web files should be taken.
Step 1 – Create web directory for your website :
mkdir -p /var/www/domain.tld/public_html

## example :
mkdir -p /var/www/servermom.xyz/public_html
Step 2 – Now setup proper permission for that directory :
chmod -R 755 /var/www
Step 3 – Also, change ownership of the directory to www-data :
chown -R www-data:www-data /var/www/domain.tld/public_html

Step 4 – Create a test file in .html format for testing purpose :
cd /var/www/domain.tld/public_html
nano index.html
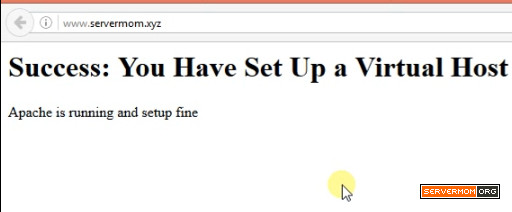
Step 5 – Put these lines inside that file :
    Success - Congratulation


    Success: You Have Set Up a Virtual Host
    Apache is running and setup fine
Hit Control+O then Control+X to save then exit the editor.
Step 6 – Now lets create the virtual hosts file :
cd /etc/apache2/sites-available
nano domain.tld.conf
Step 7 – Then put this (copy-paste) in your virtual hosts file :
    ServerName servermom.xyz
    ServerAlias www.servermom.xyz
    ServerAdmin sawiyatifandi@gmail.com
    DocumentRoot /var/www/servermom.xyz/public_html

    ErrorLog ${APACHE_LOG_DIR}/error.log
    CustomLog ${APACHE_LOG_DIR}/access.log combined


        AllowOverride All
        Options +Includes -Indexes +ExecCGI
Obviously you have to replace servermom.xyz with your own domain name. Done? Hit Control+O then Control+X to save and exit the editor.
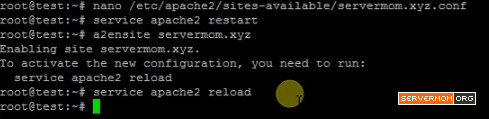
Step 8 – Finally restart Apache. :
service apache2 restart
Step 9 – Now enable your newly created forum using simple command :
a2ensite domain.tld

## example :
a2ensite servermom.xyz
Step 10 – Finally, you’ll be asked to reload apache
service apache2 reload
Open up your web browser again and try. You should see something similar :
That’s it. I hope the explanation is comprehensive enough for you to follow. Feel free to speak your minds in the comment section below.
This post Set up Full Apache Stack on Ubuntu 15.10 VPS is part of ServerMom.