I’ll show you how to properly install free SSL certificate for your websites hosted on Apache-based Ubuntu server / vps. The tutorial will include screenshot pics of each step so you can easily and confidently follow the whole procedure. Just a short explanation about Let’s Encrypt, it is a free, automated, and open certificate authority brought to you by the Internet Security Research Group (ISRG). What makes the service popular is the fact that generating free SLL certificates is easy. In addition to that easiness, users don’t also need to signup or login. Hence, all the processes are automatic and free.
Requirements
- A SSH client like Bitvise or Putty and basic knowledge about how to use it.
- Basic knowledge about common Unix command to SSH to your server.
- A server or VPS with at least 256MB of RAM (OpenVZ) but 512MB is recommended if you are using KVM or Xen.
- Install Apache2, MariaDB mysql and PHP5 on your Ubuntu server.
- Install WordPress if you feel you need it (optional).
- About 30 minutes of your time.
- a cup of coffee or tea.
Confused on choosing which VPS provider to install VestaCP? Read my recommended VPS providers or top low end cloud server providers. Quick recommendation: Digital Ocean, Atlantic.net or Ramnode.
In this guide I am using a 512MB RAM Cloud VPS from Digital Ocean running Ubuntu 15.10 x64.
Do not forget to always replace domain.tld with your own domain name.
Install Let’s Encrypt Script
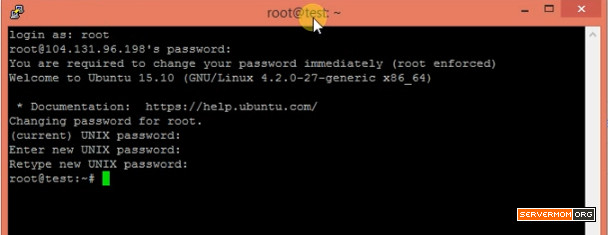
Step 1 – Login to your server as root or as a user with root privilege (sudo).
Step 2 – Now install git using this command :
apt-get -y install git

Step 3 – Go to /usr/local and clone Lets Encrypt there :
cd /usr/local
git clone https://github.com/letsencrypt/letsencrypt

Request for Generating SSL Certificates
Step 4 – Go to the letsencrypt directory and issue the basic command to request for SSL certificate :
/usr/local/letsencrypt
./letsencrypt-auto ---apache -d domain.tld

## example
/usr/local/letsencrypt
./letsencrypt-auto ---apache -d servermom.xyz

First time you run the script, it will take longer as it will also download and install Phyton and necessary dependencies. But however, it is better to also request SSL certificate for both non-www and www version of your website. The command is below :
/usr/local/letsencrypt
./letsencrypt-auto ---apache -d domain.tld -d www.domain.tld

## example
/usr/local/letsencrypt
./letsencrypt-auto ---apache -d servermom.xyz -d www.servermom.xyz

Step 5 – The installer will then ask you to enter valid email address. Just type in your email and choose OK.

Step 6 – In the next screen, simple choose Agree.

Step 7 – Choose the Apache Virtual Hosts file of your domain name.

In rare cases you might find following error :

However, issuing the same command will fix the error.
Step 8 -The system will the ask you question below. You can select either Easy or Secure, that’s up to you.

Step 9 – Done. You’ll see following message :

And this once you choose OK:

Additional Setting
Step 10 – Open up your browser and give it a try by typing https://yourdomain.tld.

Step 11 – And if you use WordPress, it is better to also install any SSL plugin like Really Simple SSL.

Step 12 – If you don’t use WordPress, it is strongly recommended to also activate Apache’s SSL mod. Issue command below in Putty :
a2enmod ssl
a2ensite default-ssl.conf
service apache2 restart
Testing SSL Quality
Step 13 – Open up web browser and visit following websites: https://www.ssllabs.com/ssltest/. Type in your site’s https:// url in the field.

Step 14 – The test will take few minutes to complete. Just wait.

Step 15 – You’ll see the result as something like this.

SSL Automatic Renewal
Step 16 – Create new cron entry in your server.
crontab -e
Step 17 – Now put this in cron jobs. Make sure you change domain.tld
0 1 1 */2 * cd /usr/local/letsencrypt && ./letsencrypt-auto certonly --apache --renew-by-default --apache -d domain.tld >> /var/log/domain.tld-renew.log 2>&1
That’s all. Any comments are welcome.
This post How to Install Let’s Encrypt Certificate on Apache-based Ubuntu Server is part of ServerMom.